


 字體:小 中 大
 |
|
|
|
| 2013/11/27 12:26:13瀏覽1351|回應0|推薦2 | |
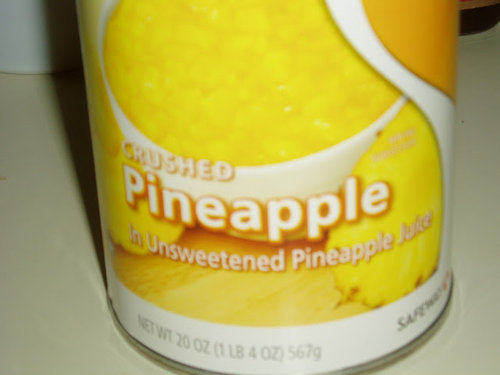
| 我是從克萊兒的點心小棧學自製鳳梨餡。 做過幾次後. 自己變得隨心所欲的放材料. 所以每批鳳梨餡的硬度都不大一樣。 這批就做的太硬了!! 連用菜刀都很難切開。 第二天只好再加一小罐的碎鳳梨罐頭(crushed pineapples 連鳳梨汁) 重新煮勻, 冷卻後硬度變太糊 (類似果醬的軟度)。 再開火熬煉掉一點水分, 總算比較適用。 這次第一階段做時間約用了三小時, 以前做鳳梨餡最短的時間有兩小時的, 沒有更短的記錄。 網 友 Snowlady 是很規矩的按配方來。 她甚至買新鮮鳳梨從自己切碎做起。 我比較懶, 用的都是罐頭鳳梨。 使用過鳳梨圈(再切碎)、 crushed pineapples ‥‥ 這次用的是 Costco 買的 鳳梨塊 (pineapple tidbits)。 這裡給的配方是大約抓的, 初學者可能會失敗。 初學者還是上克萊兒的點心小棧找原始的初學者配方( 加入spagetti squash) 。如果有膽子試的人, 先做小量的。 熬的時間不會差太多, 但是原料應該少浪費一點。 材料如下 : 鳳梨塊罐頭、 砂糖、 麥芽糖、 奶油、小麥澄麵。
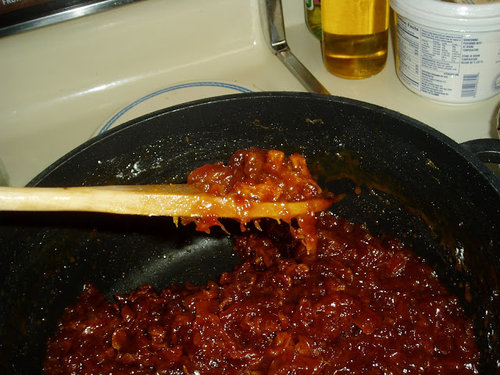
pineapple tidbits一罐 (6lb 10oz), 連罐內的汁, 在不沾鍋深鍋裡開大火, 不蓋鍋蓋 煉乾 到不見汁。 約需一小時。
偶爾翻攪避免燒焦。 不想花這麼多時間的可以只倒入鳳梨塊煉乾 。
加入1 大匙的小麥澄麵(wheat starch)
拌勻熄火, 等到冷卻再檢查硬度。
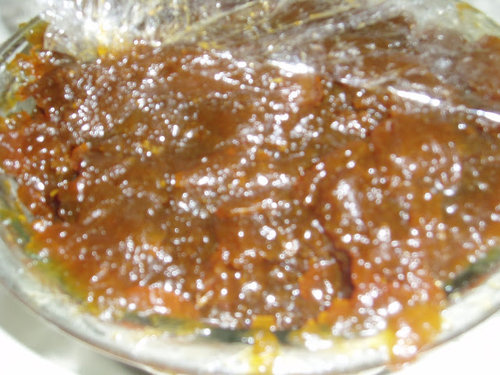
冷卻後 (室溫)才知道硬度如何。自製的鳳梨餡色澤很深像蜂蜜色, 應該是麥芽糖的關係。口感有一點蜜餞的嚼感, 比較帶酸味。
Chinese Pineapple Cakes
First make the pineapple filling (buy it if it is available) 1. 3 cans of crushed pineapple drained with sieve. 2. Use a heavy non-stick pot to cook out the moisture from the pineapple with medium high heat. Stir from time to time. Do not brown the pineapple. It takes about 15 minutes. 3. when no steam can be seen when stirring, put in 1 and 1/2 containers of malt (from Chinese grocery) . If the malt is too hard, use some heat (like putting the unopened malt in hot water). 4. After the mixture is well blend (stir all the time), almost no steam can be seen, add 3 cups of sugar stir continually (and all the time) until all sugar is melted in the mixture. It should not bobble like cooking soup otherwise will be dangerous( the splash is very hot). 5. Cool the mixture and it is ready for use. The whole process might last for 40 minutes. In the beginning, make sure the crushed pineapple is really dry (means no steam is seen when stirring). Also keep using the medium high heat all the way. I made it one day ahead or it is very tiring. You can reduce or increase the sugar. The homemade filling is more sour than the commercial one. The following dough needed to be double for the homemade pineapple filling It is better that you use a electric food scale to measure the ingredients. This dough recipe doesn't need to be exact. Pineapple filling all purpose flour 180g egg yolk 45g powdered milk 13g shortening or butter 72g powdered sugar 36g 1.soften butter in room temperature. press gently with one finger on the butter to make sure. Butter should be soft like pressing our skin but not liquidly. following steps are all using electric mixer. 2. sift the powdered sugar to avoid lumps. With electric mixer, in a big mixing bowl, cream the butter and powdered sugar until no powder can be seen. The cream mixture color changes to lighter cream. 3. Add powdered milk to step 2. mix well (no powder can be seen). Add egg yolk, mix until all blended. The mixture seems gooey. 4.Shift flour and mix with the mixture with spatula. You can still use the mixer but turn it off after one minute, and use your hand to finish blending the dough. The Dough should not be too sticky to your hand. If it is too wet and sticky, you can always put more powdered sugar or powdered milk in to make it dryer. Dough should be very soft and easy to shape. 5. In the mold, use 25g of pineapple filling, and 34g dough. Like making moon cake, round the dough in your palm, and press it with your palm. Put the dough down. Also round the pineapple filling in your palm. On the press dough, put the pineapple filling and cover the filling with dough. Round the whole cake( Pineapple filling with dough) with your palm. Shape it with a mold. Press both side of the mold (Where you can tough the pineapple cake) with both palm. If you see the pineapple filling (indicate by the color), you need to even out the dough. Or the filling will leak out easily after you bake it. 6. Preheat the oven to 350F for 10 minutes. Observe the oven temperature with a thermometer to see if temperature is reached. 7. If you don't have the mold (mental ring), you just bake it like the mooncakes. Place all pineapple cake on a baking sheet on parchment paper. Put in oven with 350F. Bake first for 12 minutes, then turn over each cakes, bake another 8 minutes. Increase time if the golden brown color hasn't shown. 8. Take out the cakes and wait until cool to touch. Gentlely press out the cakes from the mold. |
|
| ( 休閒生活|美食 ) |

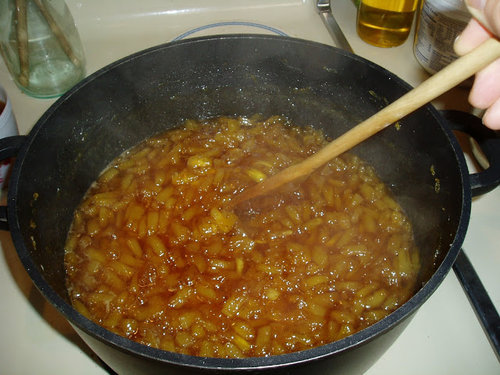
 加入兩杯的砂糖。 砂糖剛加進去會看到水分增加, 這時要將火轉成中小火, 並不停攪動。 糖的溫度夠高, 做出的鳳梨餡才不黏牙。 大約要煉個30-40分鐘, 直到不再看到噴濺, 再轉成大火。 攪拌上10分鐘。 之後還要加入一整盒 (500g) 的麥芽糖。 這時要再將火轉成中小火。 麥芽糖剛加進去會看到水分增加的情形, 這時會再次出現噴濺的問題。 翻攪不足有時會看到焦黃的鳳梨。 麥芽糖會使鳳梨餡的組織黏稠, 但麥芽糖不是甜份的來源。 砂糖的量不足, 鳳梨餡會很酸。
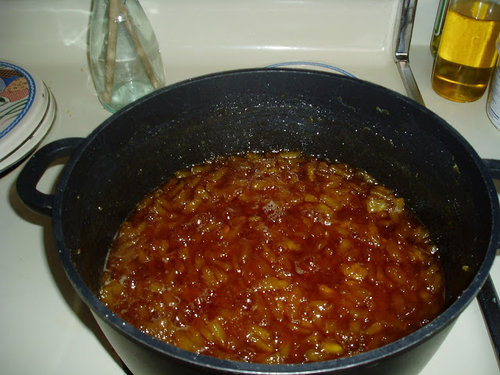
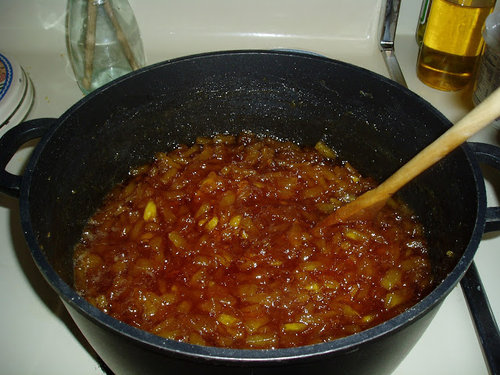
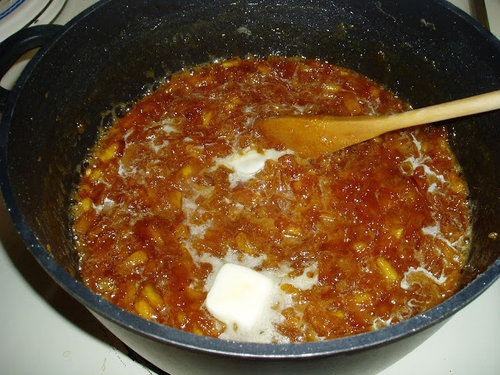 加入奶油半條 (57g)
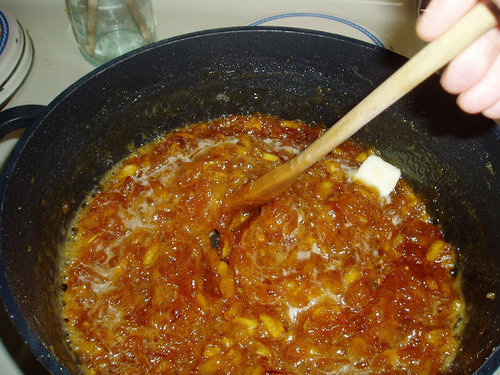 攪拌到奶油融化。
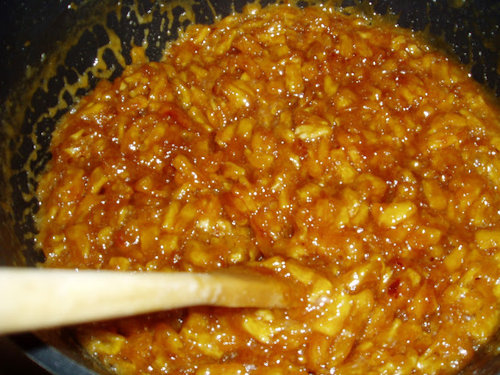
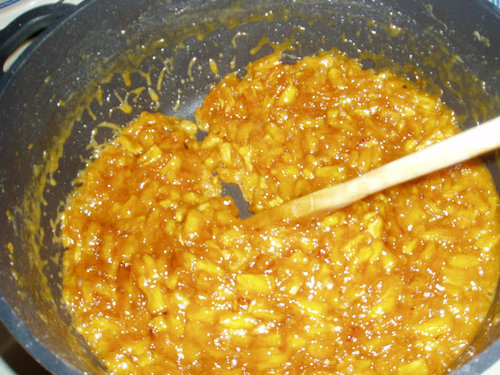
 如果太軟再開火煉乾一些; 或再加 1 大匙的小麥澄麵(wheat starch)。 太硬就再加一點鳳梨塊重調到組織平均收乾汁。


