字體:小 中 大
 |
|
|
|
| 2012/11/23 09:58:42瀏覽325|回應0|推薦0 | |
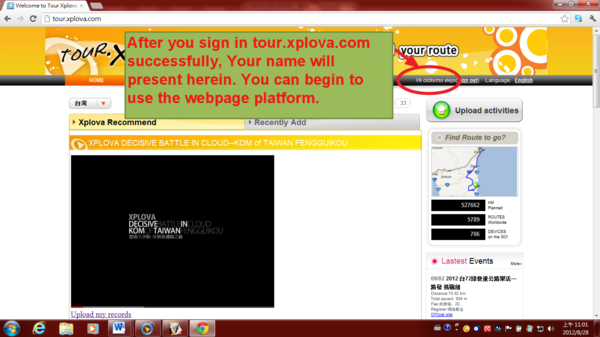
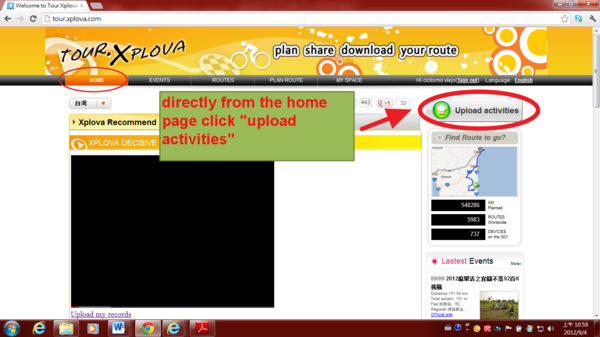
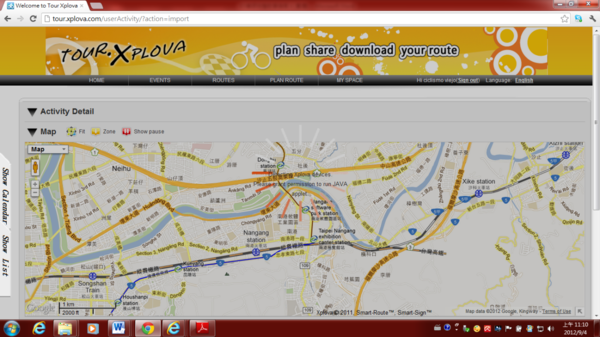
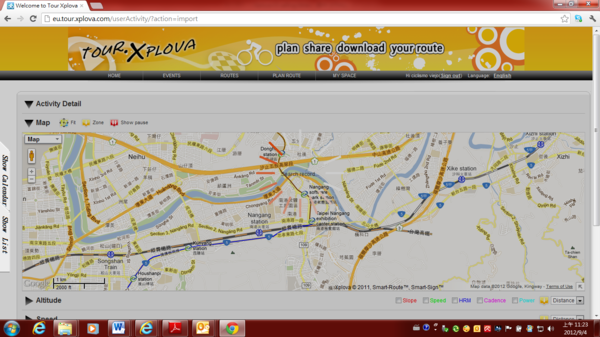
How to use your activities in tour.xplova.com? A) Upload activity records, view GPS track data on Map B) Review the activity details by Images and charts C) Tag photos to activity records D) Share records via Facebook, Twitter, or web link How to upload your cycling after several activities record? 1) After you sign in tour.xplova.com successfully, Your name will present herein. You can begin to use the webpage platform.
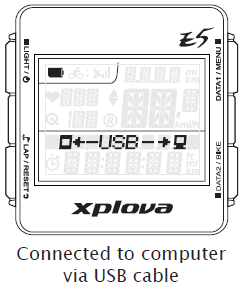
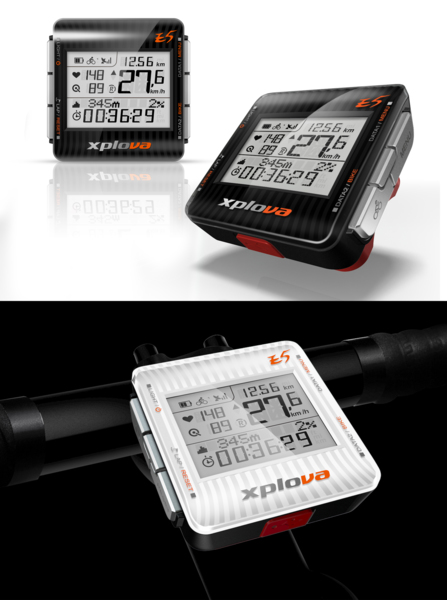
2) Connect your Xplova E5 to your computer using the USB cable.( E5 must be turned off)
3)On E5 lower screen will present the following image.
4.1.1) There are three main mode to upload activities.
4.1.2) Select data source: Because you use E5 cycling computer, you can directly select the "From Xplova devices". It will guide you directly to your activity record data storage location. If you are using another brand cycling computer, you shall select the “ From Computer”. Then, on your computer, looking for your activity storage location and import.
4.1.3.1)Detecting Xplova devices…
4.1.3.2)& Search record…
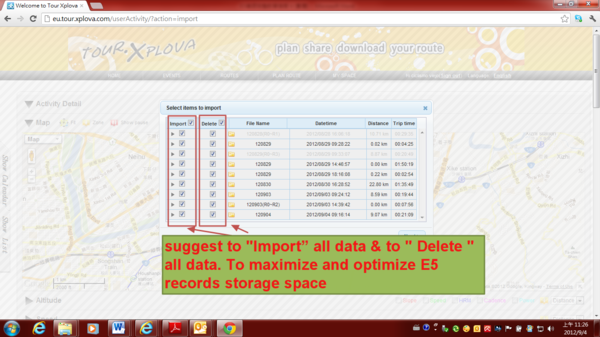
4.1.4) Select items to import: I suggest to "Import” all data & to " Delete " all data. To maximize and optimize E5 records storage space.
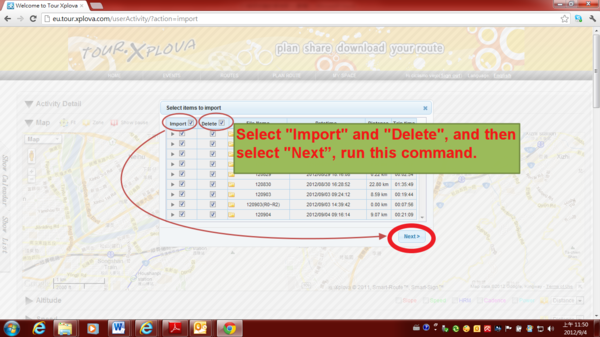
4.1.5) Select "Import" and "Delete", and then select "Next”, run this command.
4.1.6) Upload files: Import activity record to your ID account of tour.xplova.com.
4.1.7) Delete Files: To maximize and optimize E5 records storage space
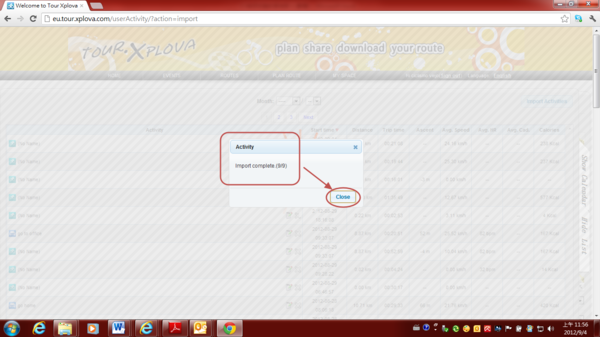
4.1.8) “Import” and “Deleted” successfully, then click "Close" to close the completed message window prompts.
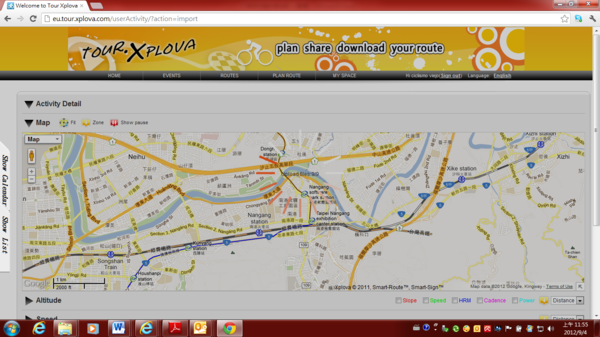
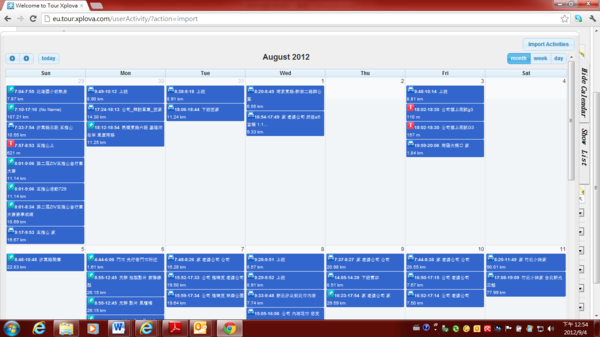
4.1.9) To view “Activities list” or “Activities Calendar”. 4.1.9.1) Activities list
4.1.9.2) Activities Calendar
4.1.10) After you upload activities to the cloud webserver tour.xplova.com, please remove the USB data cable from the computer.
|
|
| ( 興趣嗜好|運動 ) |