
 字體:小 中 大
 |
|
|
|
| 2021/08/12 14:36:05瀏覽113|回應0|推薦0 | |
In this instruction, XTool.co.uk will show you a guide on how to use XTOOL X100 PAD3 SE Key Programmer with KC501 to reflash/initialize immobilizer system for Toyota/Lexus
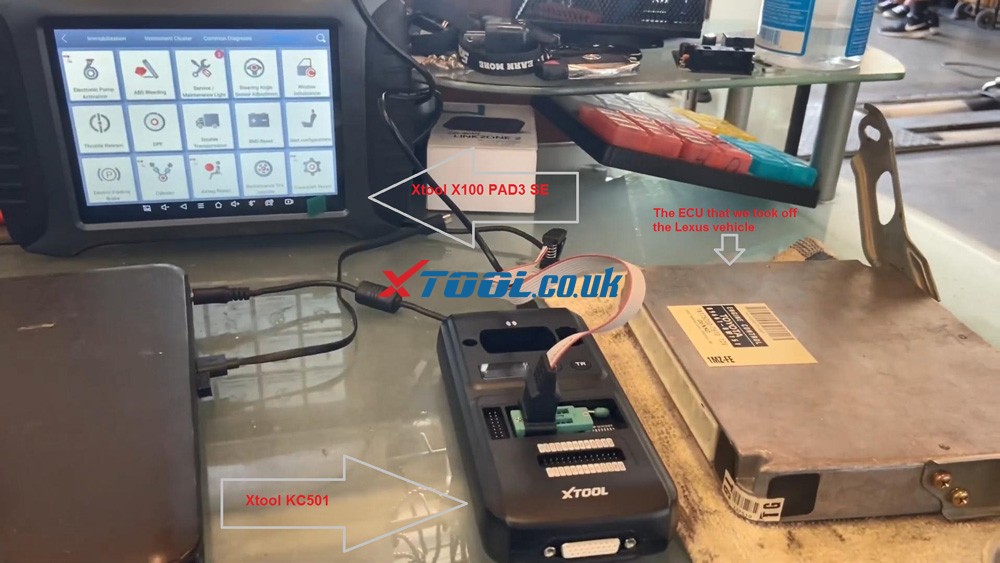
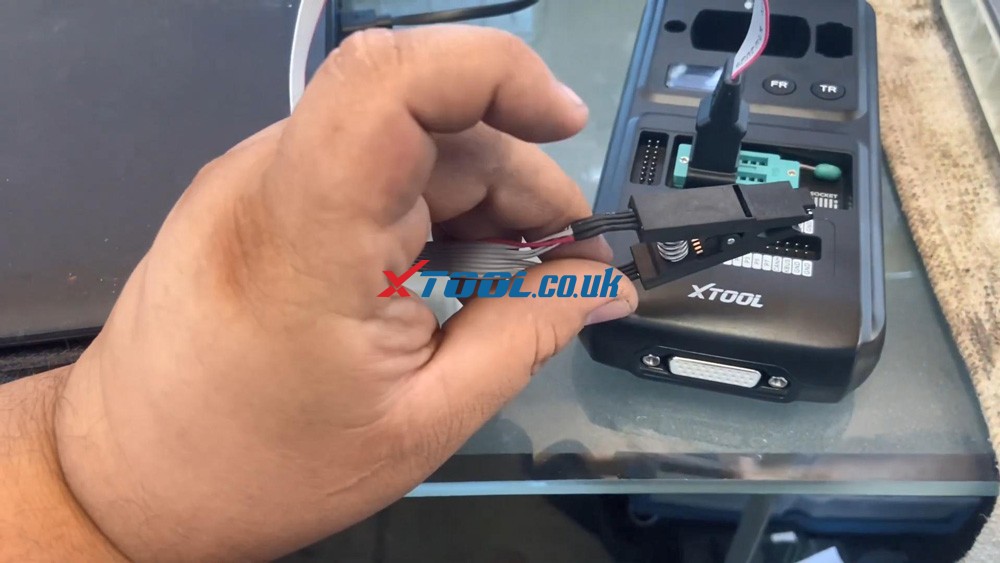
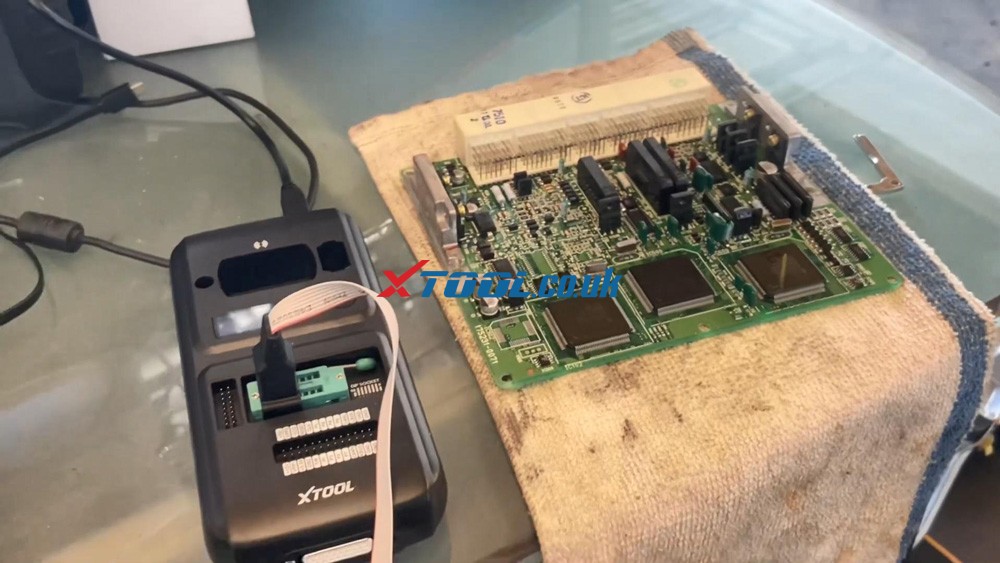
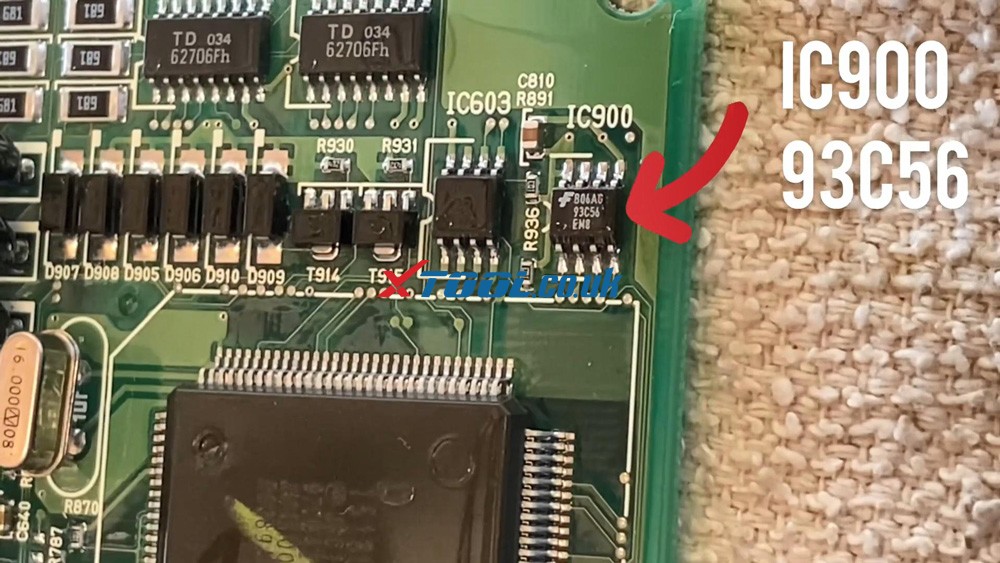
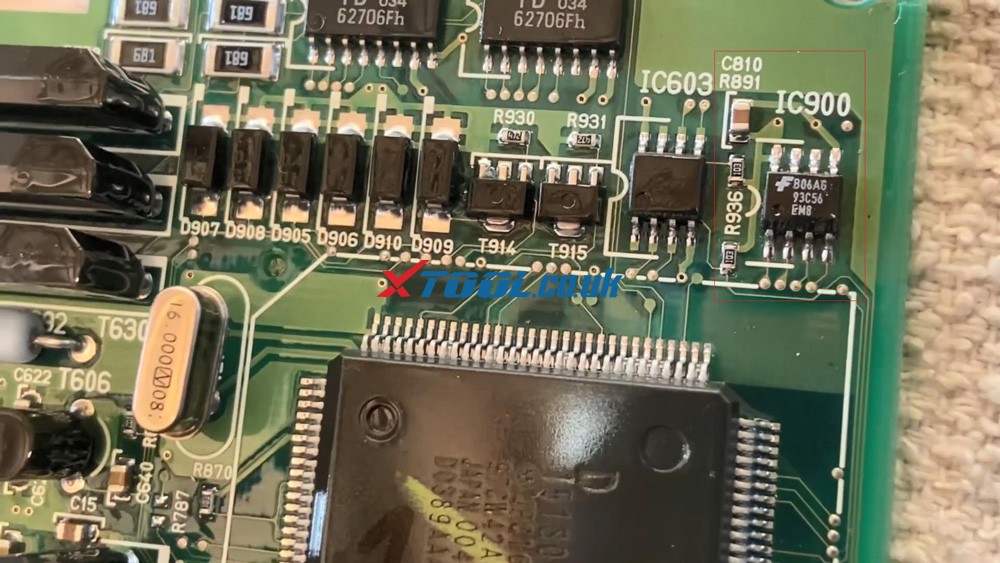
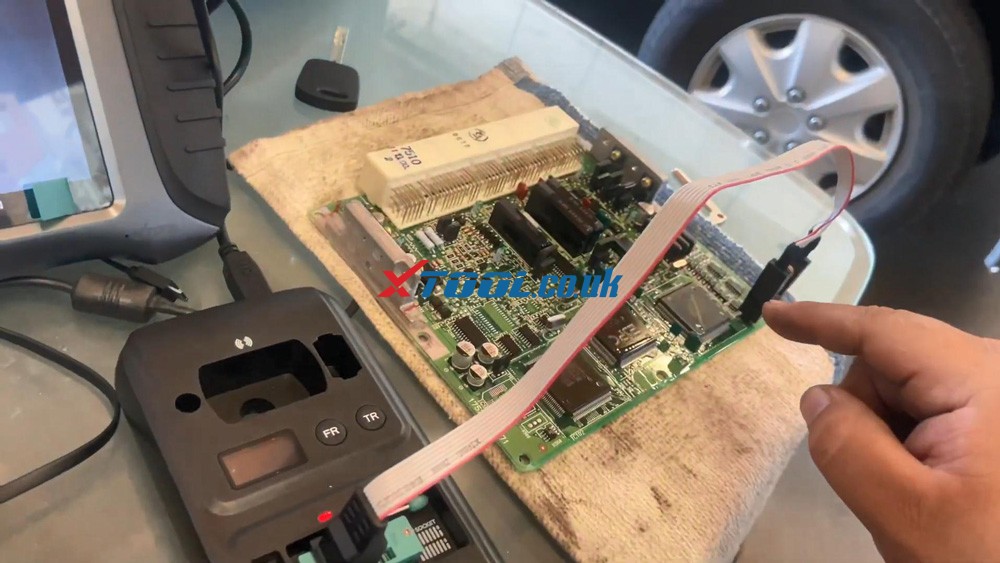
MCU Chip: IC900 93C56 We have the ECU that we took off the Lexus vehicle, a Xtool X100 PAD3 SE, the KC501 with the eeprom 8pin clip.
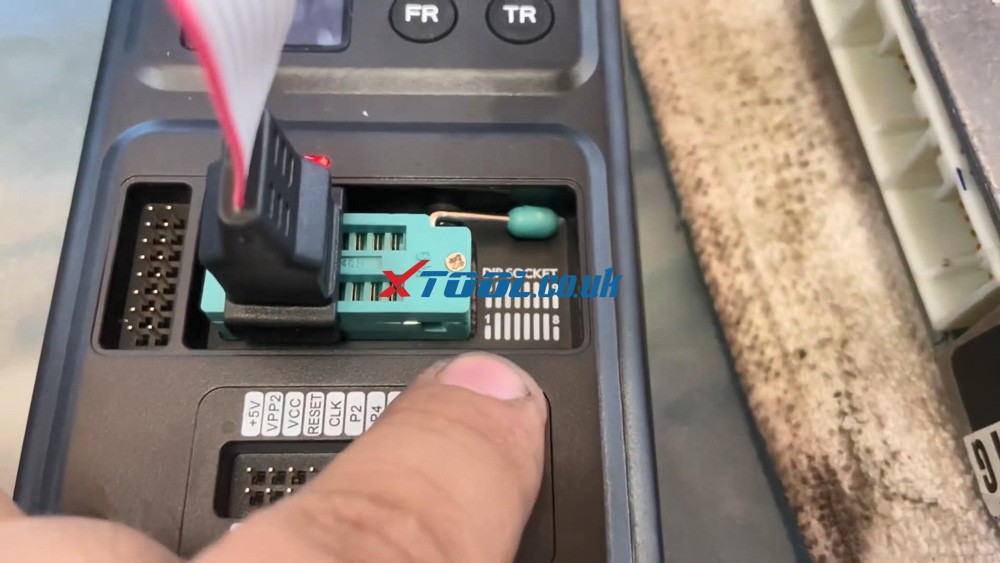
So as you can see right here a DIP socket, it tells us that the pin number one is down here.
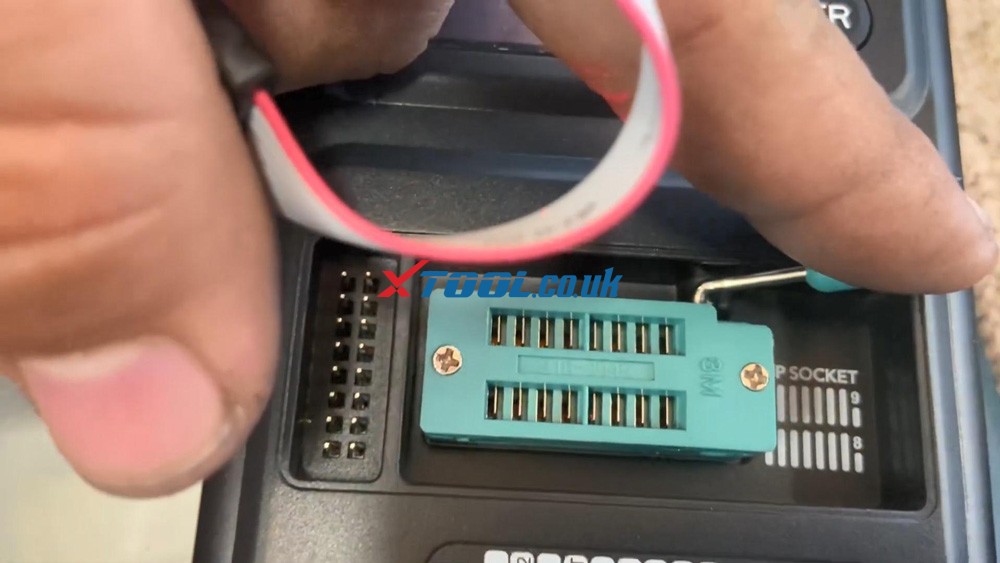
In order to connect them to a dip socket. You need to move the little lever up and that opens the teeth when you move it to the left. So you guys see where that red cable is. A little extra sign is gonna be to the left. In other words, the red cable you see right there into the plug, it's gonna be pointing down and it's gonna be in the first, there's two sockets, connect it into the first socket and then close it. As you're holding it down, you're moving the lever down, so it can be attached there.
Alright so you guys see the red wire right is gonna go to pin number one.
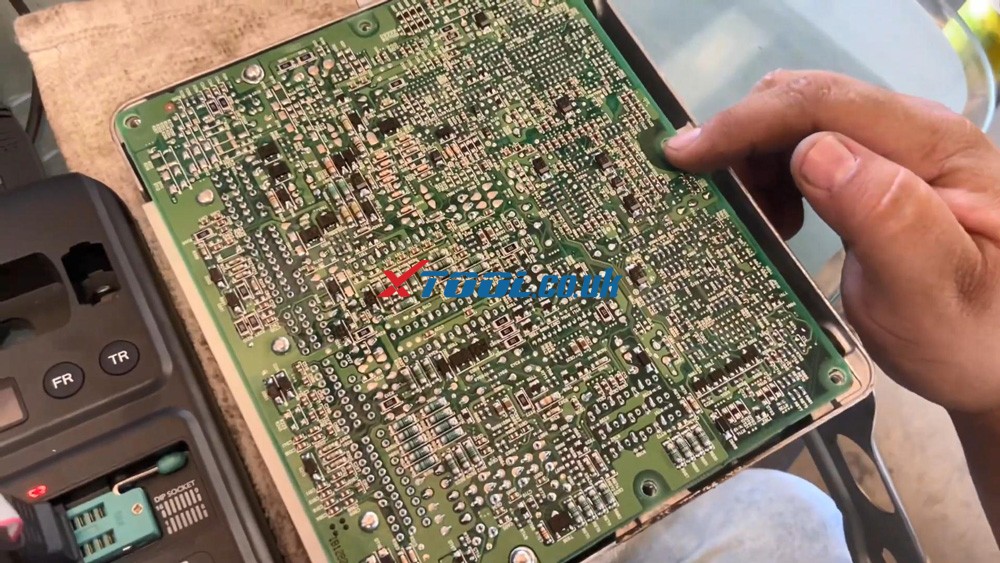
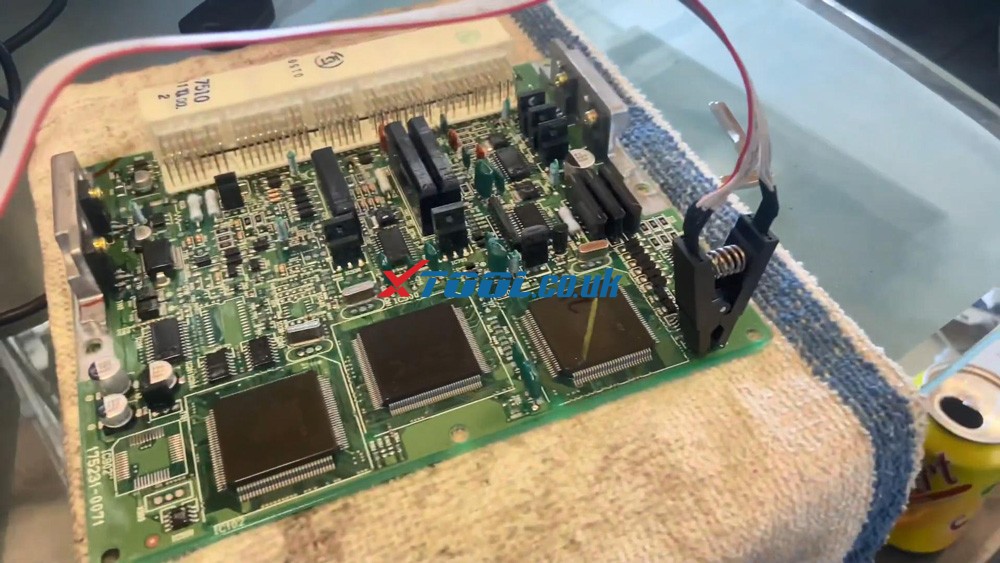
And On the IC900 chip in the ECU. So in order to open up the ECU, and that's four screws, turn it around, once screw at the 4 corners. And this comes off, make sure that when you take this off, you don't come in contact with any type of metal or anything like that. You also need to take 2 screws off.
And then this comes out as soon as you take those two screws off to make sure that you don't put it on any that you don't do any problem on any metal surfaces or anything like that. Make sure you have a nice little rag or something, you know that you can conduct electricity. So maybe like some plastic, a rubber mat. So you don't want to place this over nothing metal, because they might make contact or so we want to just put like a metal under it.
We're looking for the IC900 chip, let me show you guys where it's at, it's on the corner over here. Now reading on the IC900 chip 93C56. Remember that number because we're gonna need it later on.
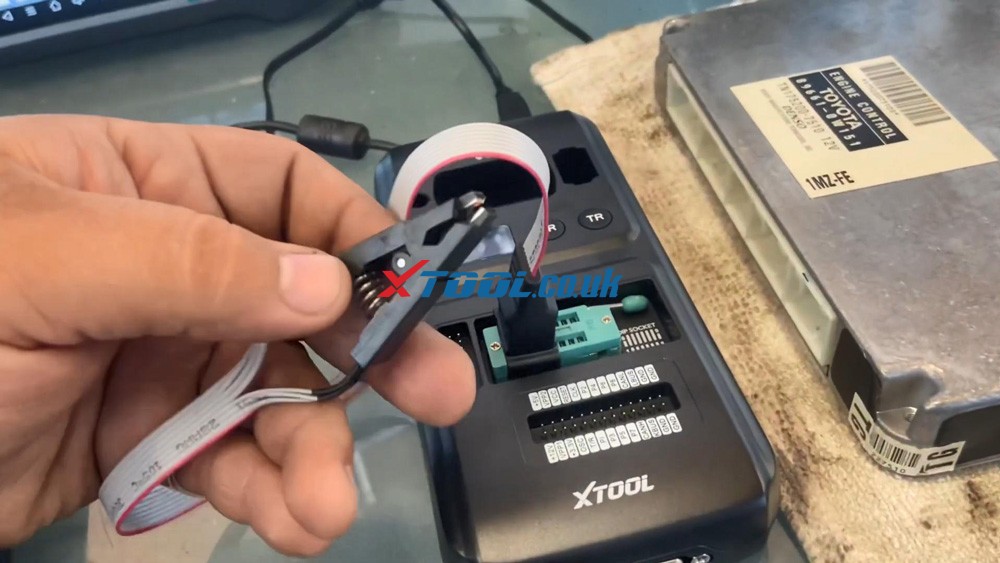
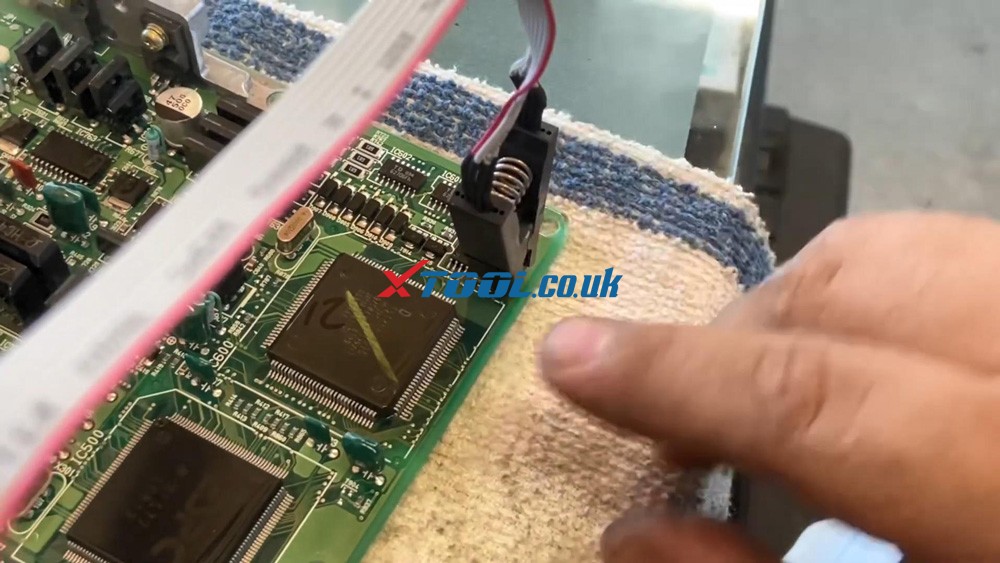
That's why we're going to plug in our cable, a clip and you can see it has a small dent on it, a small dental that means that little dot right there, you guys see that means that's indicating that's pin number one. A little hole is pointing to pin number 1, that's where are our connector's gonna be at okay.
So that red wire would be like this. Okay before you put this clip on, make sure you guys clean the leads right here, the pins. So get like a little screwdriver or a little wire brush and clean around here, because that's usually where you can read the data because you need to clean up these little leads.
Alright, let's continue do this data initialized with X100 PAD3 SE. We're gonna connect our 8pin clip. Well there's a little red wire on the left-hand side, this is facing away from you, IC900 chip, make sure you clean the pins where it connects. So I can read the data. If it doesn't read the data because it's not making good contact. it's going to number one on the dot, position number one pin.
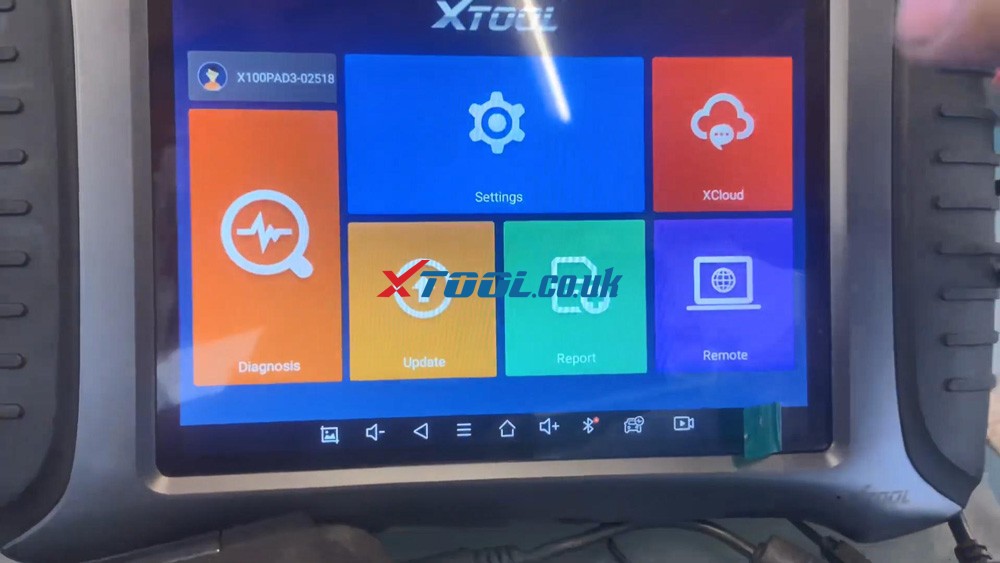
We are going to go to the main menu of X100 PAD3 SE, and go to "Diagnosis".
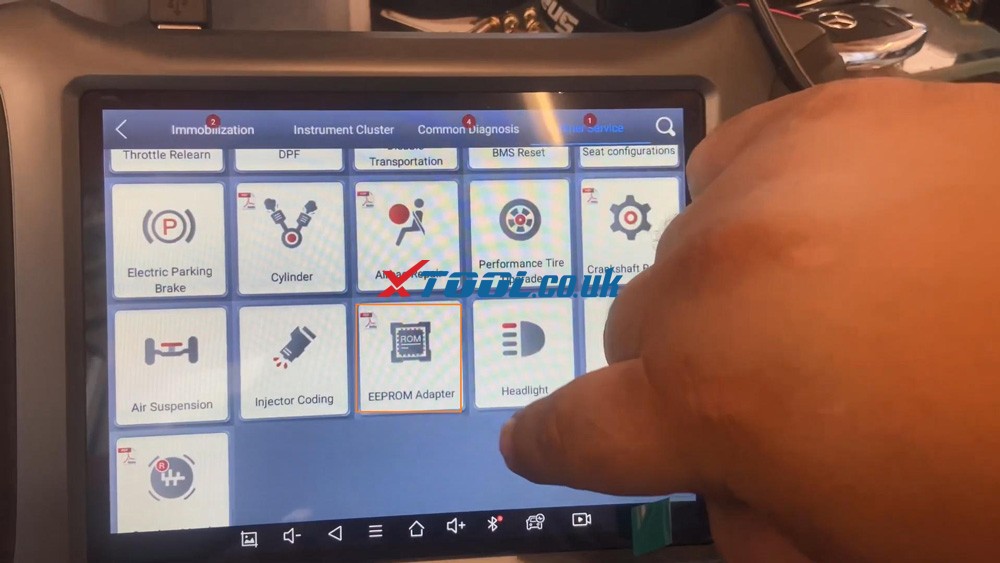
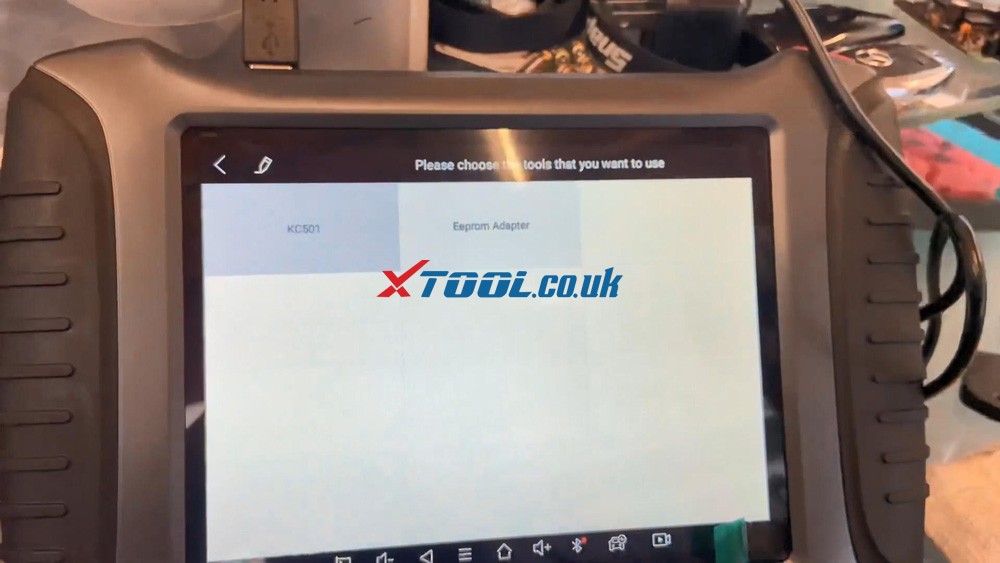
Go to "Other service" and go down "EEPROM adaptor".
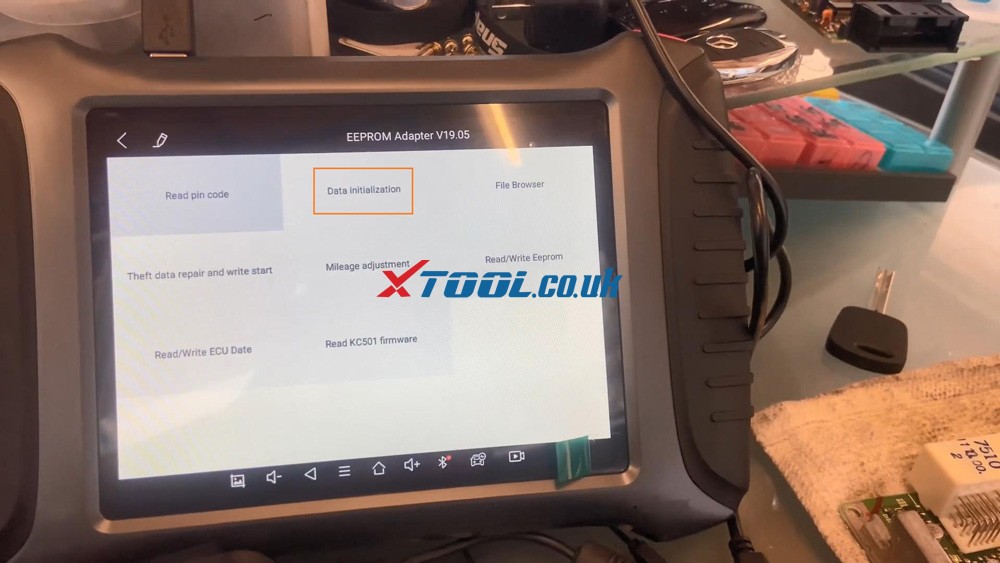
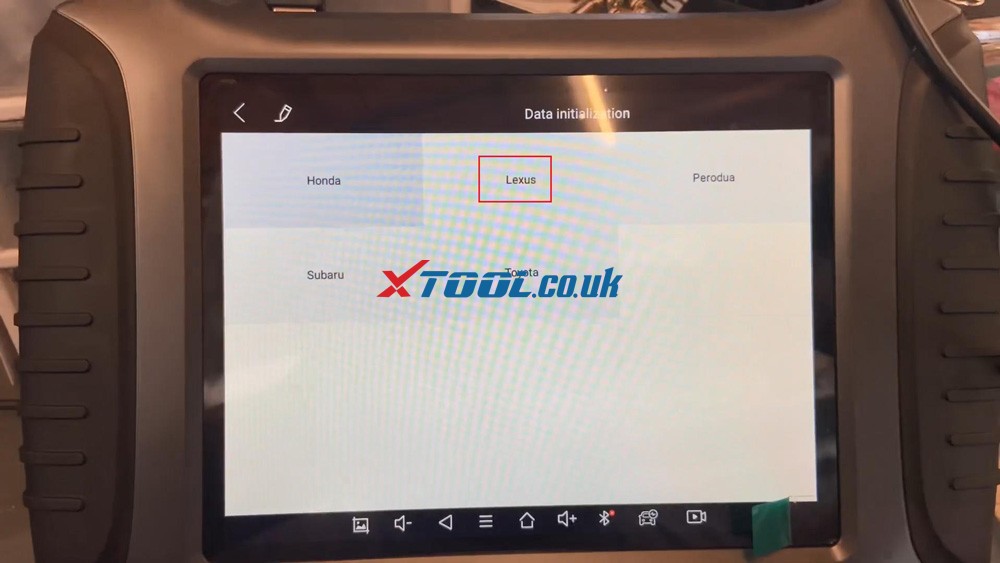
Go to "Data initialization".
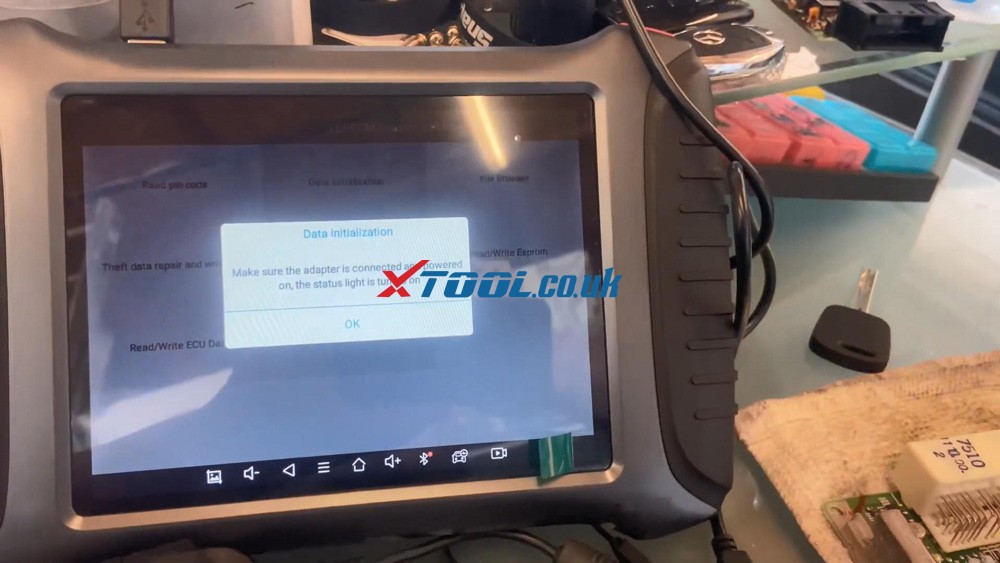
Make sure the adapter is connected and power on, the status light is turned on. Yeah, that's connected powered on, we're going to press "OK".
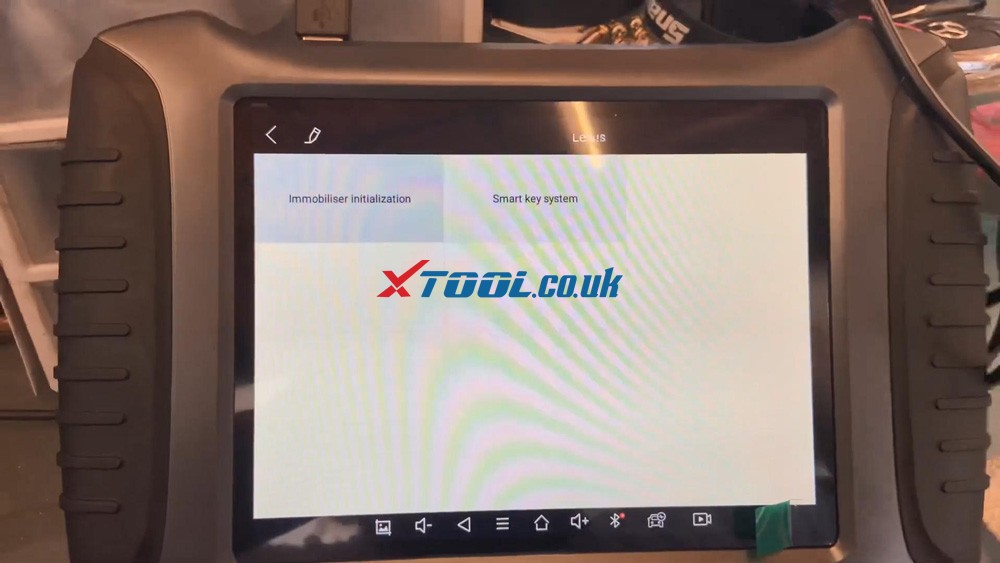
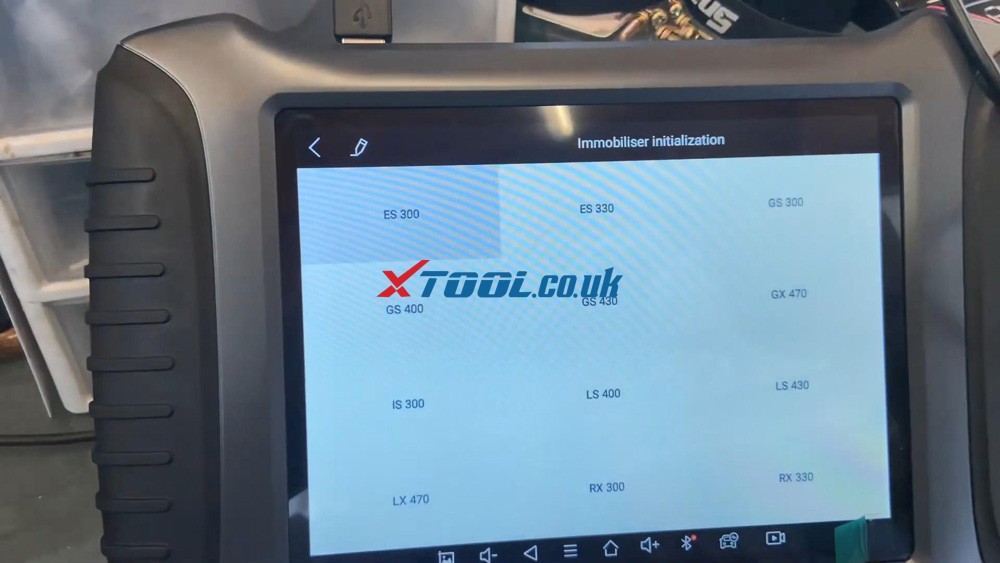
Go to "Lexus" and then "Immobilizer Initialization".
It's IS300, make sure you select the correct model and year, this is 2001.
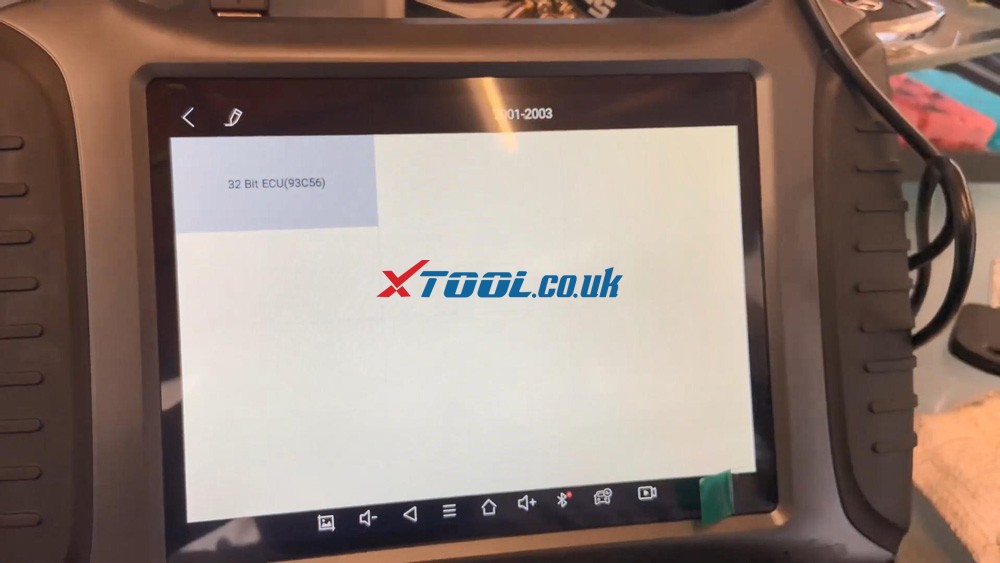
Go to 32 bit ECU (93c56), the chip number is the same one that's on the chip.
We're gonna go to KC501.
128 by 16 we're gonna press OK.
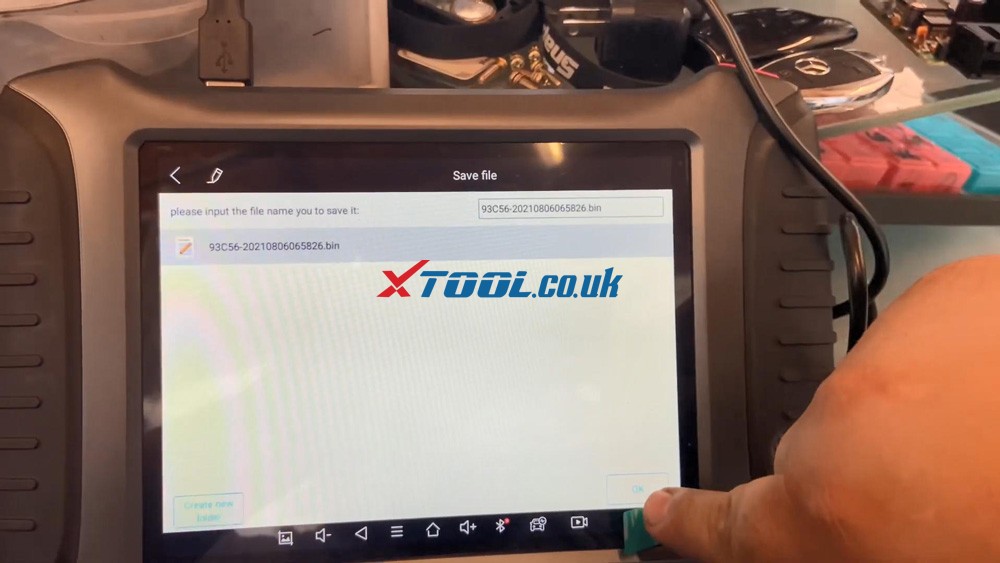
Go ahead and open up the file, save the file, please input the file name to save it, save it under the microchip and press OK.
The file already exists, do you want to overwrite it, press "Yes".
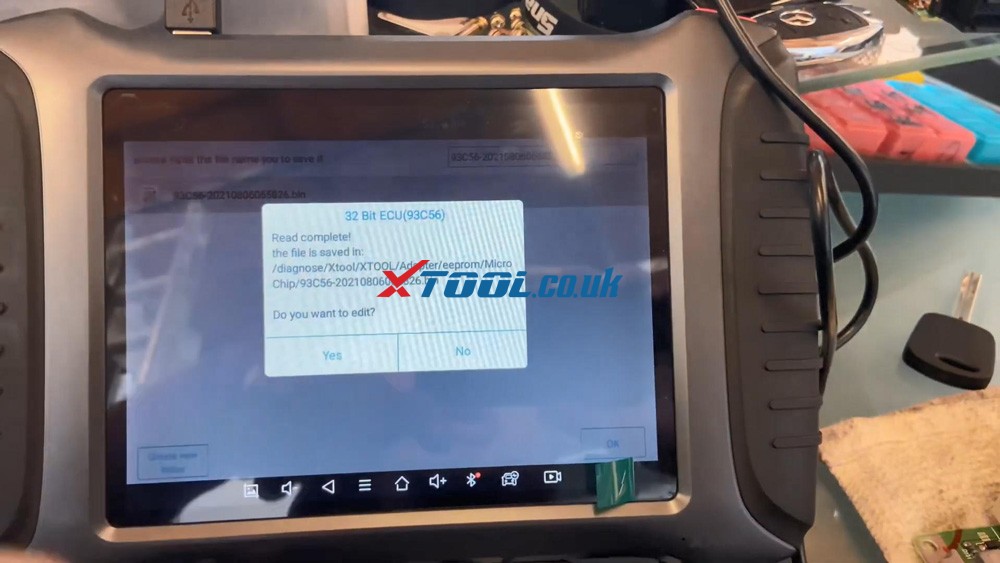
Okay, so read complete, do you want to edit, press "NO", we do not want to edit, we just wanna reflash it, press "Yes" to continue.
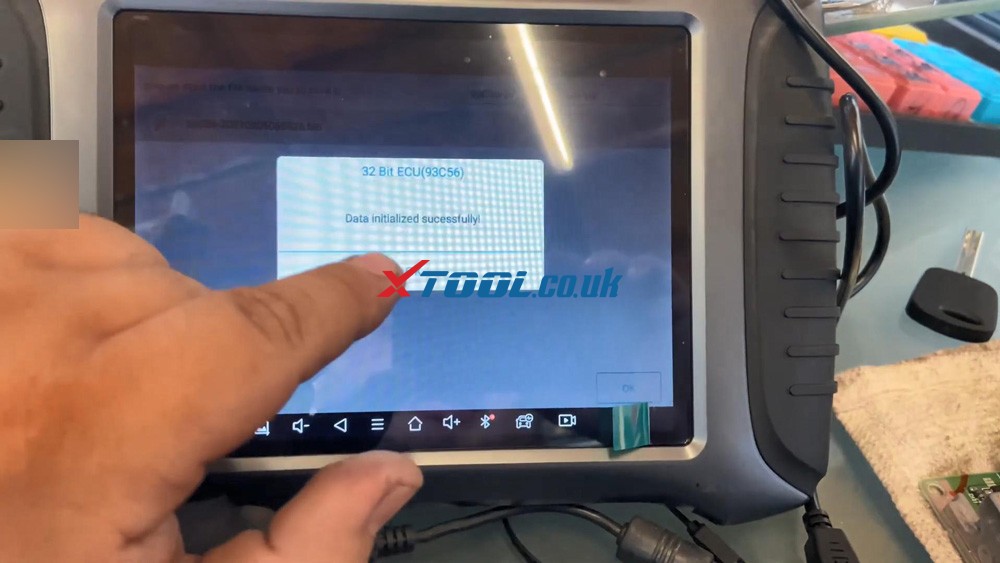
So we're preparing the data, oaky data initialized successfully.
So now we're gonna go ahead put everything back together and we're gonna go ahead and match the keys to the vehicle. So let's go connect back to the vehicle and, let's get this thing done.
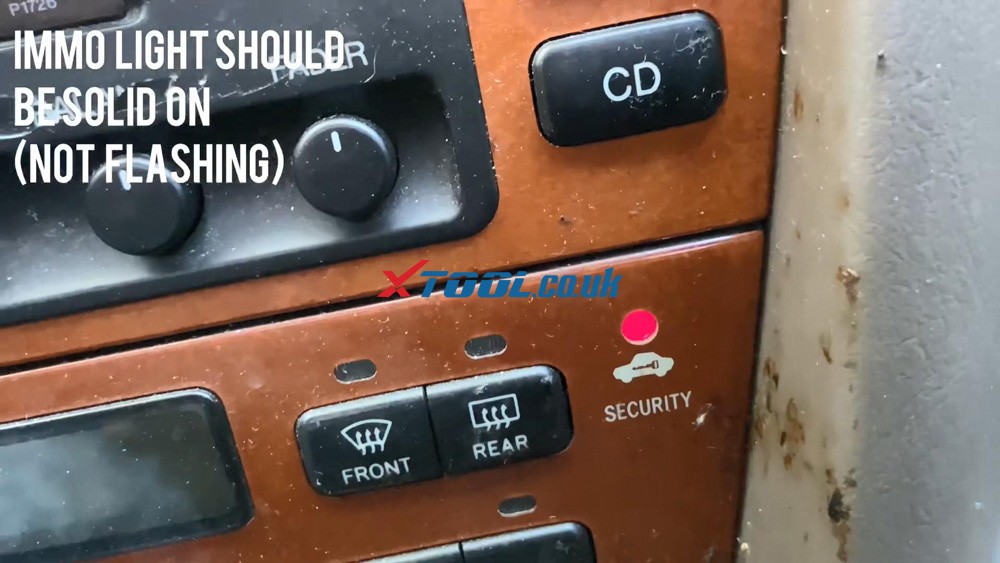
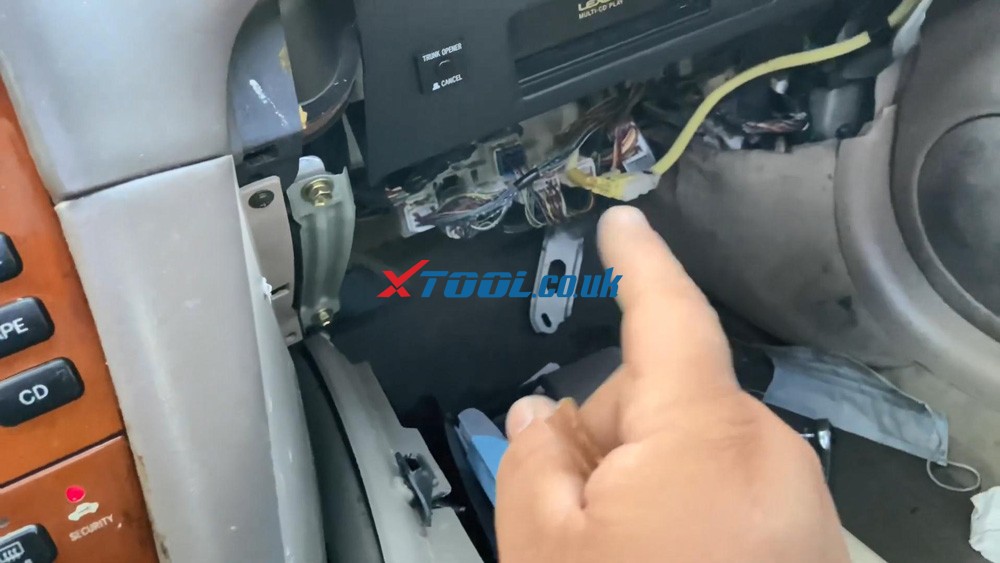
Alright, so we are on the vehicle right now because you can see the immobilizer light is not solid on, the ECU is plugged back in there, make sure you are plugging all cables, each cable goes to each individual slot, it doesn't fit in the other one. Security light is on.
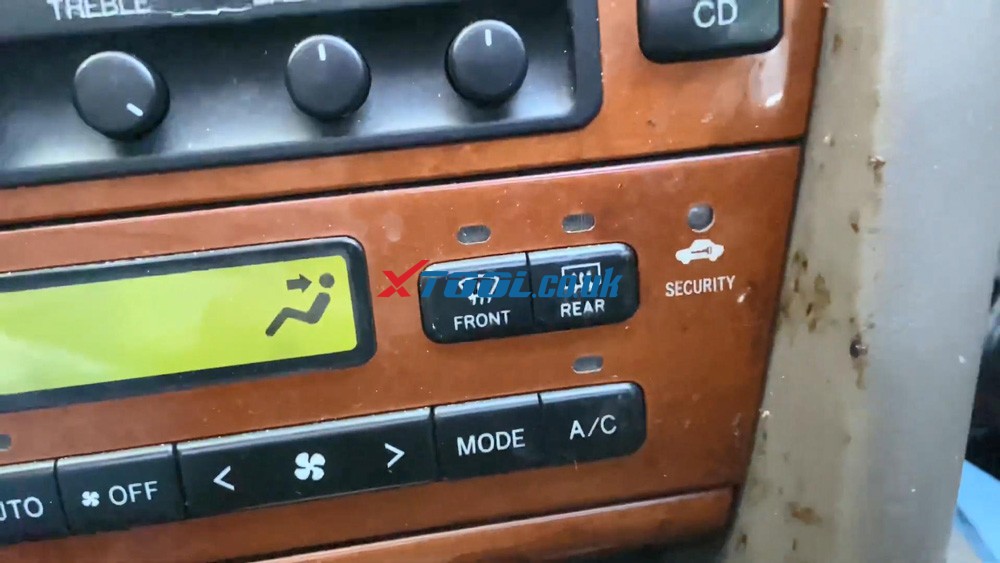
We have our 4C chip in here, you can program it to three keys, okay, so this is what we're going to do when I stick it to ignition from off to on five times and leave it on the fifth time, 12345, leave it on and open the door, close it 123456, now this should be programmed, like I said, you can program to 3 keys, we're gonna try it out, make sure that key goes off, isn't that amazing, immobilizer light is off, our vehicles on, our key is programmed . You can now manually program up to 3 keys, it's really easy, you guys can see the light is flashing back to its normal state.
Anytime you stick in the key, and you turn it on, it lights up and then it turns off, so that means that we successfully program the key.
And that's how I get the job done, Xtool X100 Pad3 SE, EEPROM, IC900, data initialization with KC501 programmer.
|
|
| ( 創作|另類創作 ) |


